
How to create a magic curtain effect with a few lines of code ✨
Table of Contents
This one is from the archive 📂
When I stumbled upon Radix Themes page for the first time, I was taken by surprise. I immediately asked myself, “How is this possible?”.
Changing component and page colors so seamlessly, linearly, and perfectly – they must be doing some kind of magic.

How did they do this
I am a true believer in the Feynman’s Technique:
Information is learned when you can explain it and use it in a wide variety of situations.
So, I wanted to really understand how this effect is feasible and, as proof, replicate it. It turns out the fundamentals are quite basic. Let’s dive in.
It’s all about Layers
To achieve the optimal result, we need to do this in as “stateless” a way as possible, and let me elaborate.
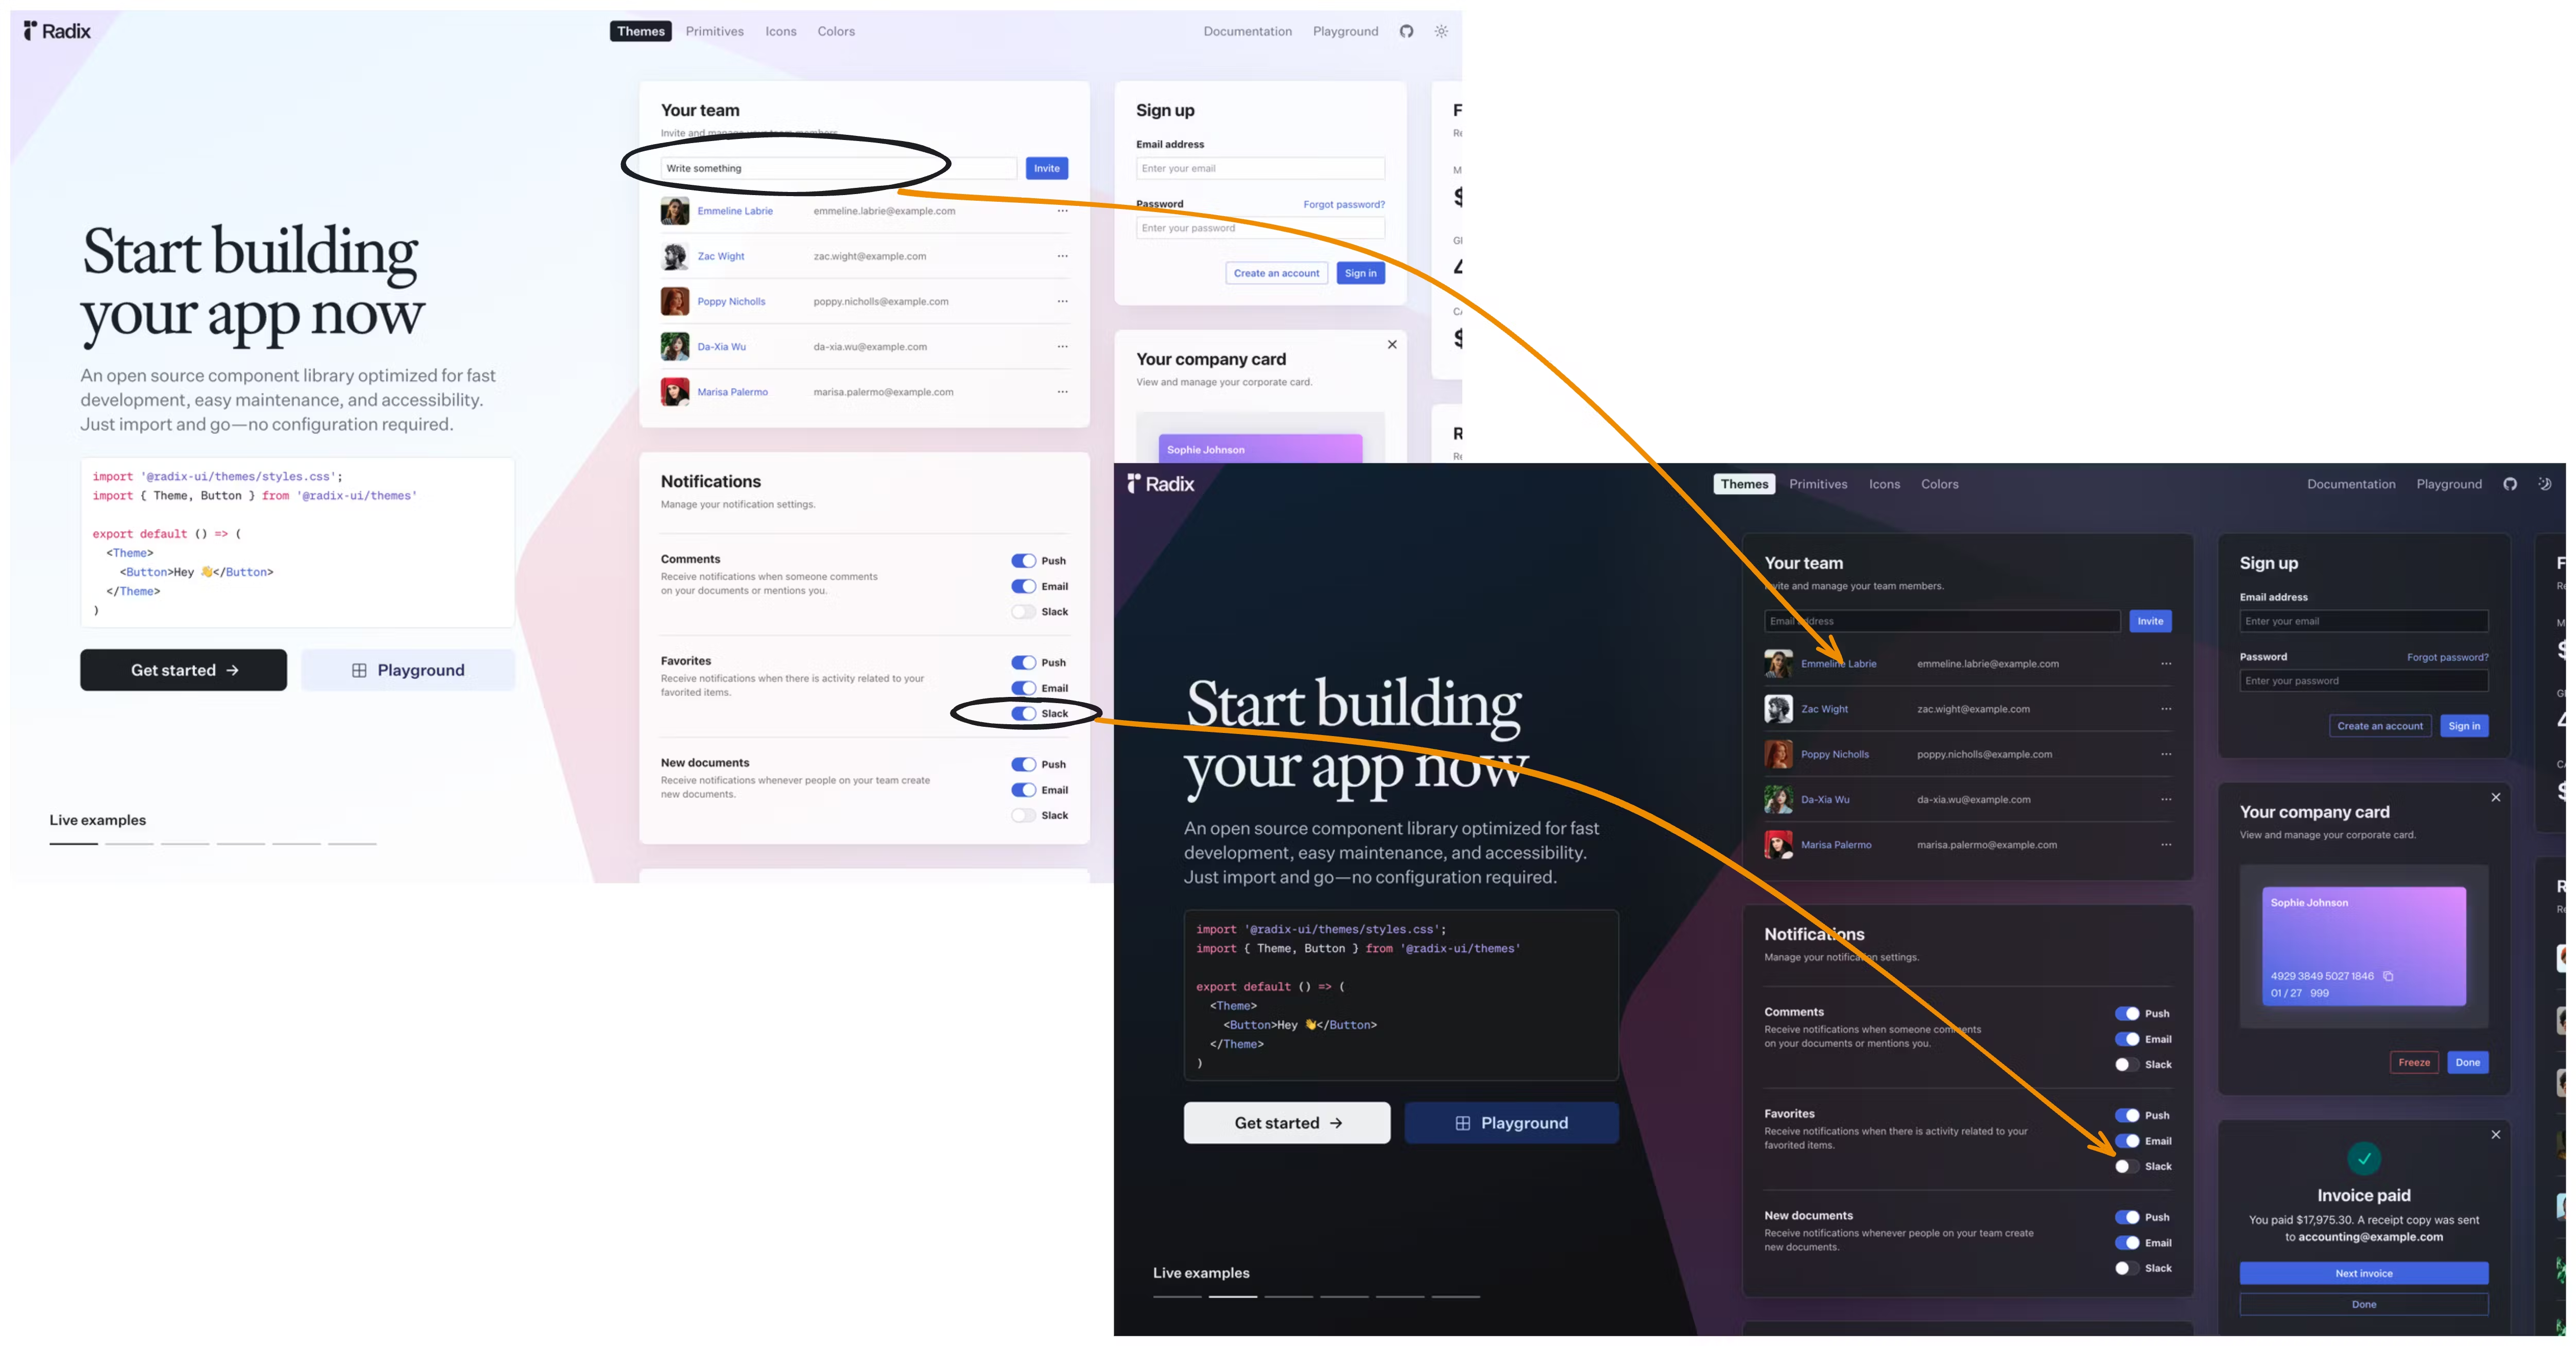
In the screen from Radix UI, we have many atomic components, like checkboxes, that you can toggle. If we have stateful atomic components, and then change the page, we may notice minor flickers because the state is being reset.
As an example, you can go and test what happens when you write in a field, toggle a switch, and change a page. But those are minor details 🔍
In general, my perfectionist tendencies would lead me to do something like the following to achieve a slightly smoother transition while enabling users to modify component states as they wish:

Rendering multiple screens
Getting back to how we can implement this effect.
To simplify things, let’s say we are on the light theme screen (the first screen) and we click to go to the dark-themed one.
Hopefully, the illustration makes it clear, but let’s analyze each step:

-
We render our app in our default theme provider. In this case, it is the light theme.
-
A user clicks a button to invoke a theme change.
-
This is where the magic happens. Instead of swapping dark with light, we actually render them both. We give z-index priority to the light theme, with the dark theme in the background.
-
Now that we have both themes, and the old one on top, we start clipping the old one to create the smooth visual effect we love.
-
After the animation is done, we have our desired theme fully revealed 🎊
Getting technical
For those who want more technical details, let’s dive into some nice bits.
Clip path
One of the things I learned during this exploration is about clip path. In the example code section, you can see a demo of how I used it with Framer motion.
But to break it down, let’s see the framer’s code, I used:
// Initial state, when the front layer is fully visible
initial={{
    clipPath: "polygon(0 0, 120% 0, 100% 100%, 0 100%)"
}}
// Final state, when the front layer is fully hidden
animate={{
    clipPath: "polygon(0 0, -20% 0, 0 100%, 0 100%)"
}}
To visualise this, check the following Codepen, where we clip a div element back and forth in a loop.
Example code
Again, to truly understand something, you need to be able to recreate it. Here is a CodeSandbox minimal example of the Magic Curtain effect I created as a demo for the theme provider we shipped at Neo4j’s Design System library.

That’s all folks
Have you ever implemented this? Or are you looking for the opportunity to do so? If so, I hope I saved you some time, and I’m looking forward to your comments.