Balancing long-lived connections in Kubernetes
Table of Contents
If you’re experiencing uneven load distribution across your Kubernetes pods, you might be dealing with long-lived connections.
Long-lived connections are persistent network connections between clients and servers that remain open for extended periods, rather than being established and closed for each request. While these connections can improve performance by reducing the overhead of connection establishment, they can create challenges in load balancing scenarios.
Maybe you had Horizontal Pod Autoscaling (HPA) on, but you figured out that most of the pods are using <5% of CPU while one or two are reaching through the roof.
That probably means you have some long-lived connections between some services, and let’s see how we can scale things in those scenarios.
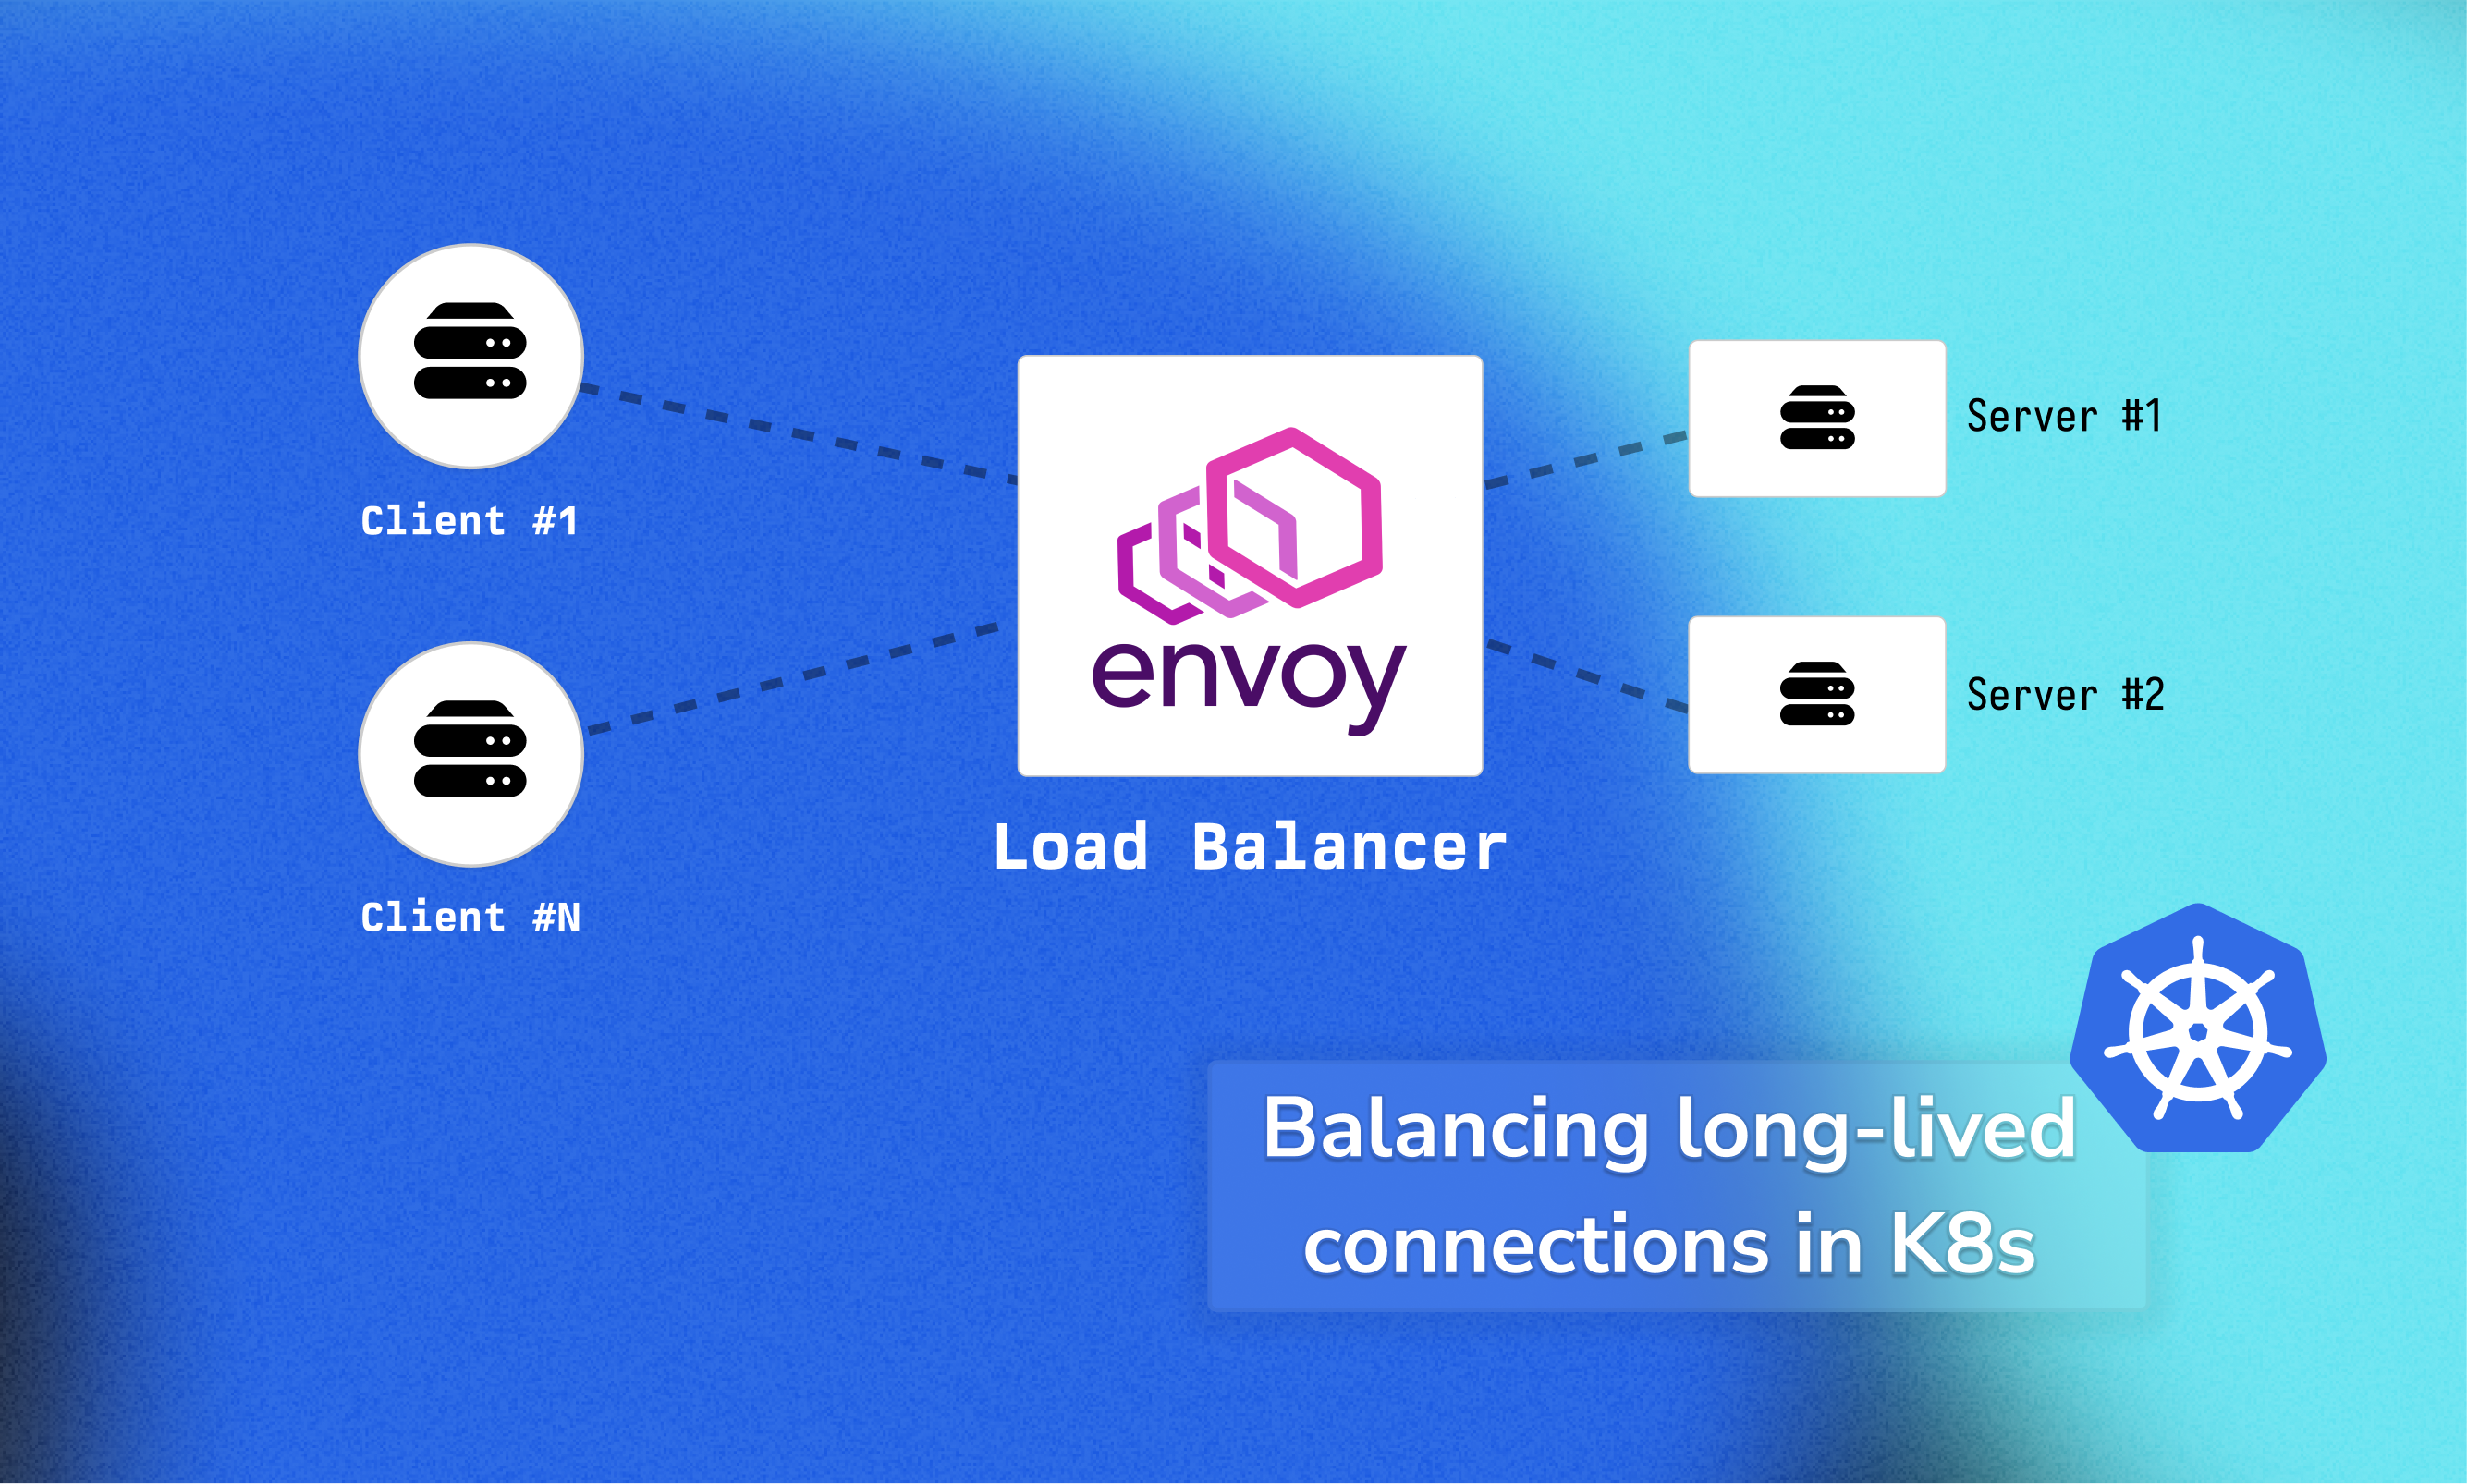
In this post, we will explore how to balance long-lived connections in Kubernetes, and have a result as the image below.

The problem
Recently I noticed that 1 of our micro-services at Grafana Labs was spiking in CPU usage >90%, while the other pod was at <1% of CPU usage.

While this may not seem a big of an issue initially, it becomes interesting when you have a few pods that are using all their CPU budget, and the newly created pods that are close do 0% usage.
This will result in under-utilized pods, HPA that is ineffective, increased latency and more issues.
After digging into some dashboards and searching around, we found out that it was due to long-lived connections.
This effectively meant that even if we scaled our service horizontally, the existing connections between the client and the server would not get distributed, and this means that load would still be the same, leading to a subpar experience. This is an issue that happens many times, that there’s even a great post by LearnKube.com around this topic.
The solution
The solution we implemented is quite straightforward. We used a Proxy service, Envoy in our case, to sit in-between the client and the service.
Client
    ↓ (long-lived connection)
Envoy Proxy (connection pooling)
    ↓ (load balanced to multiple backend connections)
Server Pods
How it works
Default Service load balancing

Let’s break down the above animation. On the left we have two clients that want to establish a long-lived connection, which makes sense in many micro-services to avoid any latency penalties.
Our client first pings the servers’ Service, and the service based on “round-robin”, or kind of, returns one of the pods’ IP. Then the client establishes a long-lived connection with this IP address.

As illustrated in the animation, there are drawbacks to this approach:
- Horizontal scaling does not work, especially with a handful of clients providing most of the load.
- Traffic is not distributed equally, but depending on which server a client is connected to.
This can result in hotspots, totally uneven distribution of traffic, unnecessary HPA, increased latency, and more issues.
Load balancing
To make this work without dropping long-lived connections, we could employ any smart load balancer in the middle, such as Envoy (example repo below).
Then it would work like:
Client
    ↓ (long-lived connection)
Envoy Proxy (connection pooling)
    ↓ (load balanced to multiple backend connections)
Server Pods
An example is seen below:

In this approach, there are some key differences. First we have our servers’ Service being headless. What this means effectively is that headless services don’t perform load balancing at all - they just expose pod IPs through DNS, returning all the available IP addresses instead of a single load-balanced endpoint.
As an example taken from this amazing StackOverflow explanation, the difference between a regular and a headless service would be:
###### Regular Service ######
$ nslookup regular-svc
Server:     10.96.0.10
Address:    10.96.0.10#53

Name:   regular-svc.moon.svc.cluster.local
Address: 10.109.150.46

###### Headless Service ######
$ nslookup headless-svc
Server:     10.96.0.10
Address:    10.96.0.10#53

Name:   headless-svc.moon.svc.cluster.local
Address: 172.17.0.31
Name:   headless-svc.moon.svc.cluster.local
Address: 172.17.0.30
Then as soon as our Load Balancer have all the IP addresses available, and polls them to refresh their internal list every now and then, it will create a connection pool with connections to each of the servers.
The last step, is to establish long-lived connections, and for our clients everything will stay exactly the same. They establish a long-lived connection without knowing if there is a LB sitting in-between.
When to use this approach
This solution is ideal when:
- You have services with long-lived connections
- You’re experiencing uneven load distribution despite having multiple pods
- You need to maintain connection state while achieving load balancing
However, consider the trade-offs:
- Increased complexity: Adding Envoy introduces another component to manage and monitor
- Additional latency: Extra network hop through the proxy
- Resource overhead: Additional CPU and memory consumption for the proxy layer
Avoid this approach when:
- Your services use short-lived connections that a simple service can distribute load
- The overhead of an additional proxy outweighs the benefits
- You have simple and light-weight service communication patterns
Code example
I was looking for something like this without much luck, so ideally this repo will save you quite some time.
The repository has code on how to set Envoy as a load balancer for long-lived connections, you can find it here.
You can read more inside the repository, but long story short, the setup maintains a connection pool with connections to each of the servers, ensuring that the load is evenly distributed across all available servers without constant connection establishment.
We’re hiring
If you found this post interesting and enjoy working on infrastructure challenges like this, we’re actively recruiting talented engineers for my team. We work on fascinating problems at the intersection of Kubernetes, observability, and large-scale distributed systems.
Check out our open positions and feel free to reach out if you’d like to learn more about what we’re building at Grafana.
Thanks
Thanks to Umair M. for his proofreading and suggestions ❤️